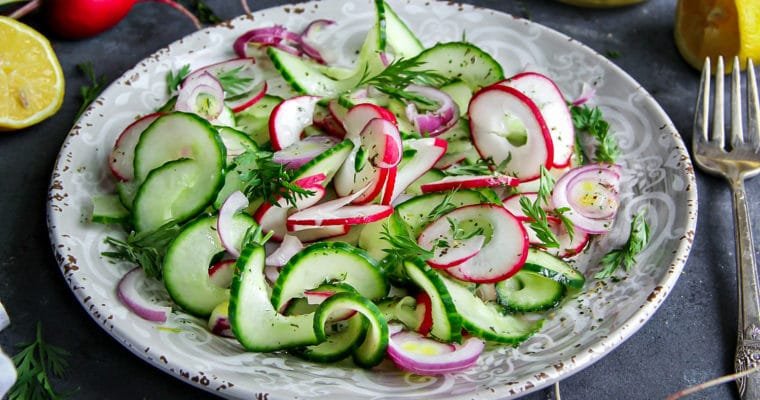
Cucumber Radish Salad
I love salads, especially this Cucumber Radish Salad. I eat them every single day with my main meal or on its own. That being said, I do not know if this ever happens to you, but I crave salads. I literally crave a bowl of read more