
There’s something about putting a big, bubbly piece of homemade bread in the middle of the table. Everyone tears off a piece, then another, and before you know it, the whole thing is gone.
That’s exactly what happened with this Olive Oil Flatbread with Herbs.
I first made my simple olive oil flatbread for one of our family BBQs. We had a full house… grandparents, kids, nieces, friends, and enough food to feed a small village. I put the warm flatbread on the table, and it disappeared so quickly that I ended up making it several more times that same week.
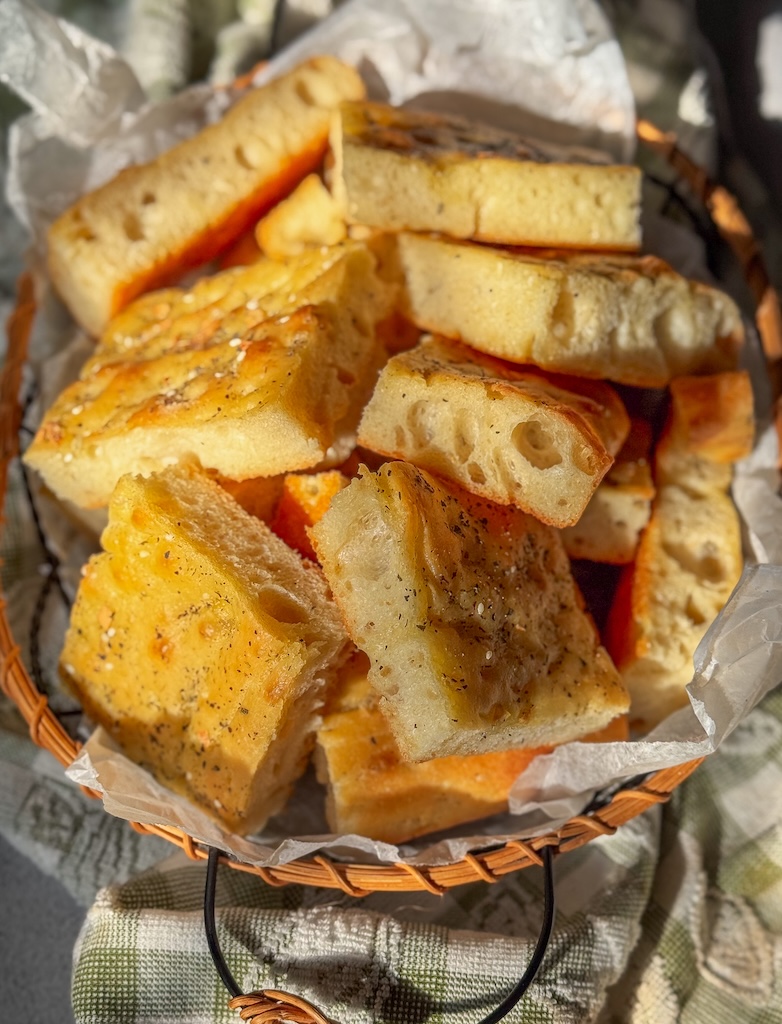
The kids loved it, but they kept asking why I didn’t put garlic on top. Clearly, they had a point.
So, I made it again, but this time with plenty of garlic, herbs, flaky salt, and a generous drizzle of olive oil.
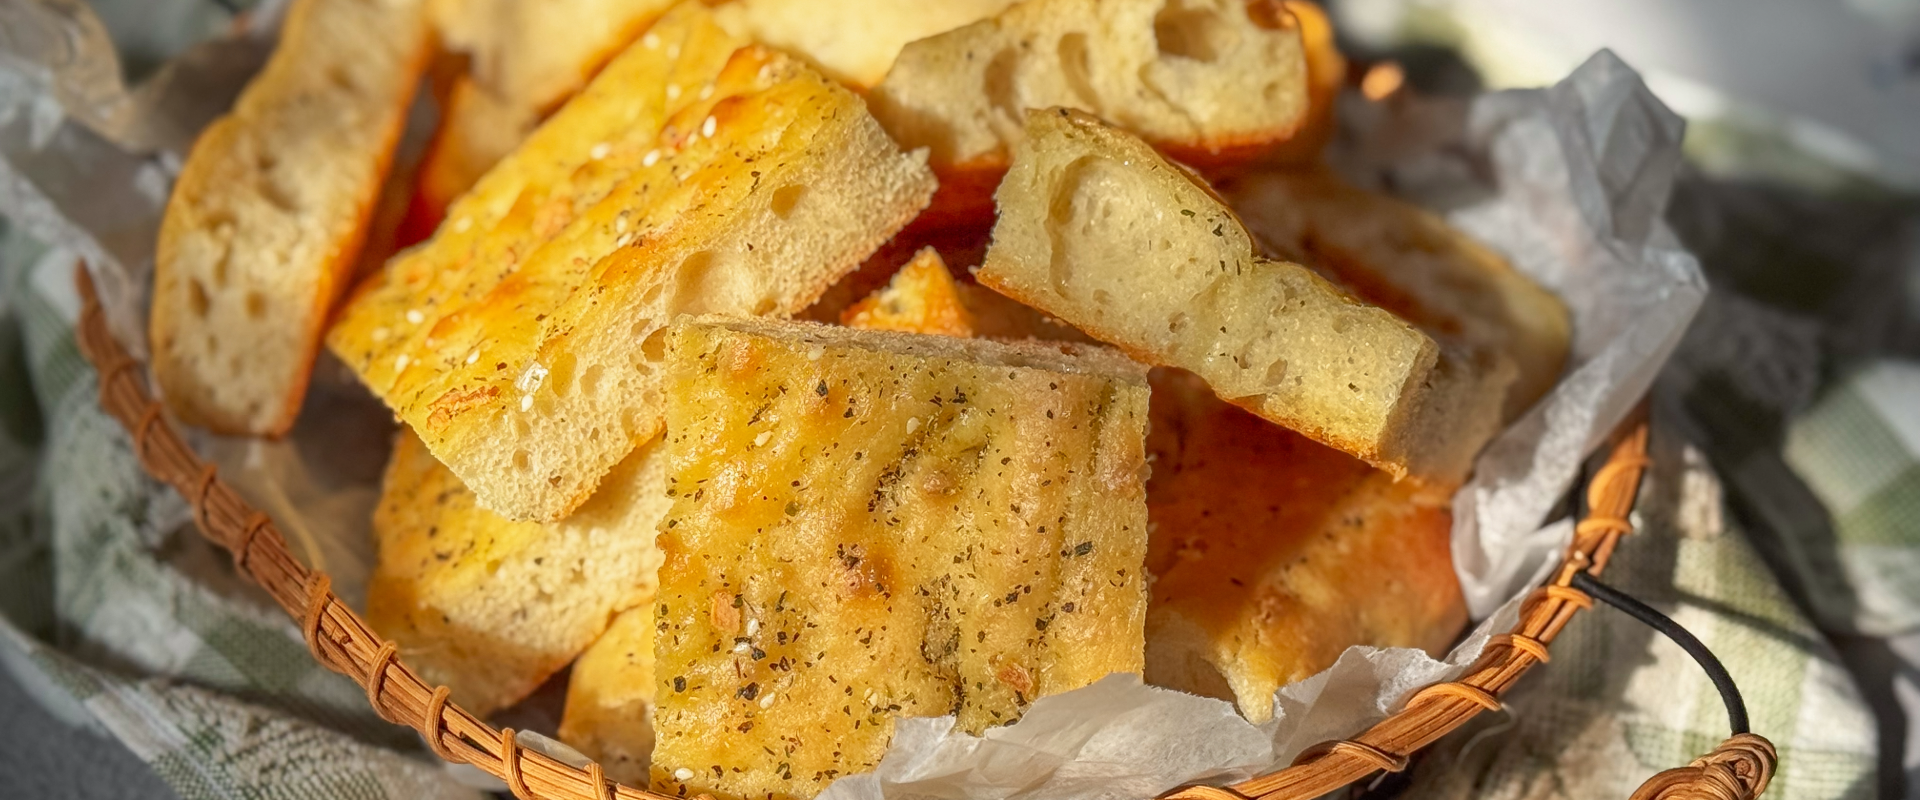
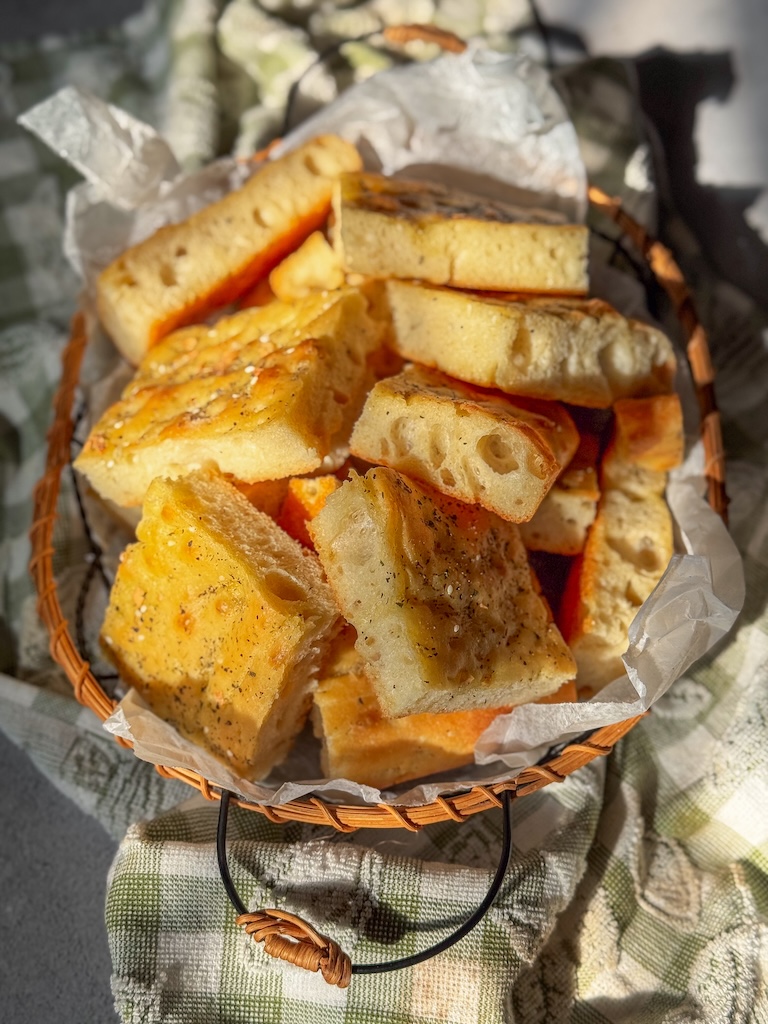
I make my flatbread a little thicker because I love a soft, fluffy center with golden edges and a slightly crisp bottom. And please don’t press all those beautiful bubbles out of the dough! They’re one of the best parts.
You really don’t need much else with it. Tear it apart while it’s still warm, dip it in olive oil, serve it with grilled meat, soup, or salad, or simply set it in the middle of the table and let everyone help themselves.
It’s rustic, garlicky, a little messy, and absolutely worth making from scratch.
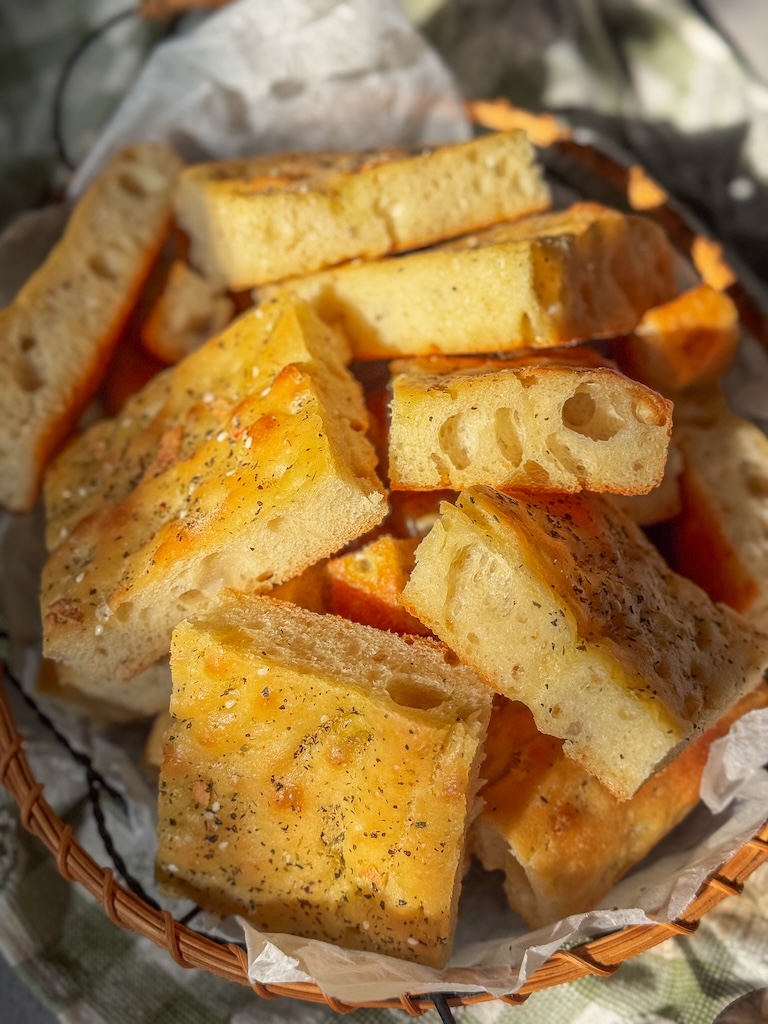
My family has already asked me to make it at least once a week. I have a bit of a love-hate relationship with bread—or maybe just gluten. I love it, but I try to enjoy it in moderation so I don’t feel bloated afterward.
Still, seeing everyone enjoy it so much makes me happy, and I simply don’t have the heart to stop making it. So I’ll keep baking it, sharing it, and sneaking a warm piece for myself. It’s all about balance, right?
If you make my Olive Oil Flatbread with Herbs, I’d love to hear what you think. Leave a comment below and let me know how it turned out or whether you made any changes. Your feedback always makes my day, and it also helps other readers who want to try the recipe.
If you share your flatbread on Instagram, tag me @sandraseasycooking so I can see and share your creation.
Follow me on Pinterest and save this recipe for later!
Tap here for more BREAD recipes
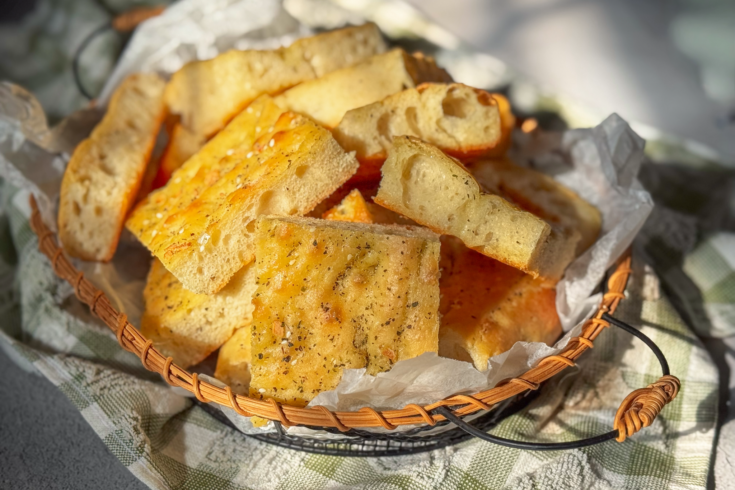
Olive Oil Flatbread with Herbs
This homemade Olive Oil Flatbread with Herbs has a fluffy, airy center and golden, slightly crisp edges. Finished with garlic, herbs, flaky salt, and olive oil, it’s perfect for dipping, sharing, or serving with dinner.
Ingredients
For the dough
- 4 cups (500 g) all-purpose flour, plus more if needed
- 2 teaspoons (7 g) instant yeast
- 2 teaspoons granulated sugar or honey
- 2 teaspoons (10–12 g) salt
- 1⅔ cups (395 ml) warm water
- 2 tablespoons extra-virgin olive oil, plus more for the bowl and pan
For the garlic and herb topping
- 4 tablespoons extra-virgin olive oil, divided
- 4 large garlic cloves, finely minced or grated
- 1 tablespoon mixed Italian herbs
- ½ teaspoon flaky sea salt, or to taste
- Freshly ground black pepper, to taste
- Pinch of crushed red pepper flakes, optional
- Sesame Seeds, optional
Instructions
- Add the flour, instant yeast, sugar, and fine sea salt to a large mixing bowl. Whisk everything together until evenly combined.
- Pour in the warm water and 2 tablespoons of olive oil. Mix with a wooden spoon or sturdy spatula until a shaggy, sticky dough forms and no dry flour remains. The dough should be very soft and sticky, so avoid adding more flour unless it is truly too wet to handle.
- Cover the bowl and let the dough rest for 15 minutes. With lightly oiled or damp hands (I like using water), gently stretch one side of the dough upward and fold it toward the center. Turn the bowl and repeat this three or four times.
- Drizzle a clean bowl with a little olive oil. Place the dough inside, turning it once to coat it lightly. Cover and let it rise in a warm place for 60 to up to 90 minutes, or until doubled in size. My mark is around 75 minutes but if you get busy 90 minute sis just fine too.
- Generously coat a 9-by-13-inch baking pan with olive oil. Carefully transfer the risen dough to the pan without pressing out all the air. We wit this to be airy.
- Using well-oiled fingertips, gently stretch the dough toward the corners. If it springs back, let it rest for 10 minutes, then continue stretching. Cover loosely and let it rise again for 25 to 30 minutes, or until noticeably puffy.
- While the dough rises, preheat the oven to 425°F (220°C).
- Combine 2 tablespoons of olive oil with the Italian herbs, black pepper, and crushed red pepper flakes and/or sesame seeds, if using.
- Drizzle the herb oil over the risen dough. Gently press your fingertips into the surface to create dimples, being careful not to deflate all those beautiful bubbles. Sprinkle the top with flaky sea salt.
- Bake for 15 minutes. Meanwhile, stir the garlic into the remaining 2 tablespoons of olive oil.
- Carefully remove the flatbread from the oven and spoon the garlic oil evenly over the top. Return it to the oven and bake for another 7 to 10 minutes, or until the top and edges are golden brown and the center is fully baked.
- Let the flatbread cool in the pan for about 10 minutes. Transfer it to a cooling rack so the bottom stays crisp, then slice it into squares or tear it into rustic pieces. Serve warm.
Notes
- The dough should be soft and sticky. Try not to add too much extra flour, or the flatbread may turn out dense instead of light and airy.
- Use warm water, around 105–110°F. Water that is too hot can damage the yeast.
- I use a 9-by-13-inch pan because I like my flatbread thicker and fluffier. For a thinner flatbread, use a larger baking sheet and begin checking it a few minutes earlier.
- Don’t press too firmly when dimpling the dough. We want to keep as many of those beautiful air bubbles as possible.
- Adding the garlic oil during the last part of baking keeps the fresh garlic from burning and becoming bitter.
- If you only have active dry yeast, dissolve it in the warm water with the sugar and let it sit for 5 to 10 minutes before adding it to the flour.
- You can replace the Italian herb blend with rosemary, thyme, oregano, or any combination of herbs you enjoy.
- For the best texture, transfer the baked flatbread to a cooling rack after about 10 minutes. Leaving it in the pan too long may soften the bottom.
- Store leftovers in an airtight container at room temperature for up to two days or refrigerate them for up to five days.
- Reheat the flatbread in a 375°F oven or air fryer for a few minutes. The microwave works, but it will make the bread softer.
- The baked flatbread can also be frozen for up to two months. Wrap individual pieces well and place them in a freezer-safe bag. Thaw at room temperature and reheat before serving.
Nutrition Information
Yield
10Serving Size
1Amount Per ServingCalories 449Total Fat 10gSaturated Fat 1gUnsaturated Fat 8gSodium 554mgCarbohydrates 79gFiber 4gSugar 1gProtein 11g
This data was provided and calculated by Nutritionix. Nutrition information isn’t always accurate, but we try our best.
 Lunch Box: Panda Bento
 Kimchi JjiGae