
Thanksgiving Side Dishes
In my humble opinion, Thanksgiving dinner is not about turkey, on the contrary for me it is all about Thanksgiving Side Dishes. Who agrees? Well, also about seeing your …

In my humble opinion, Thanksgiving dinner is not about turkey, on the contrary for me it is all about Thanksgiving Side Dishes. Who agrees? Well, also about seeing your …
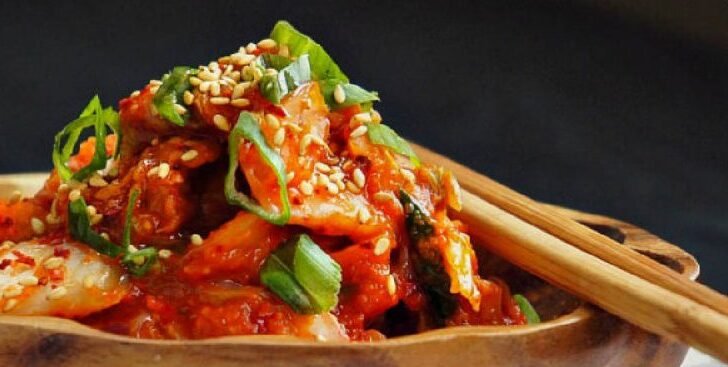
Kimchi is a traditional as well as national fermented Korean side dish made of vegetables with a variety of ingredients. It is a staple of every Korean household, therefore it’s an important part of Korean culture.
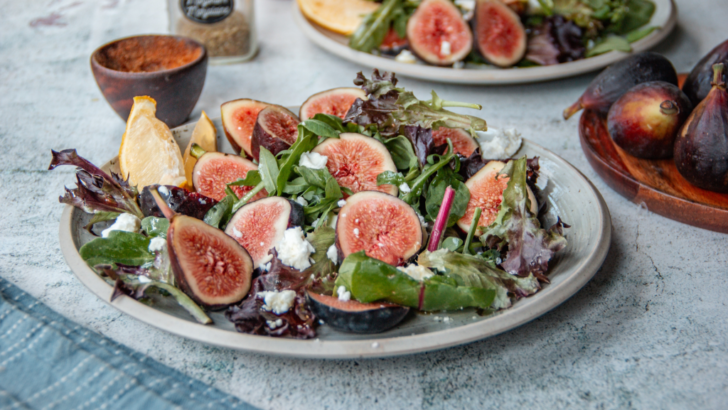
This Arugula Salad with Fresh Figs and Feta Cheese is the perfect combination of flavors and textures. With the sweetness of fresh figs and the creaminess as well as the …

I have a great preference for easy-to-make meals that take less than 30 minutes to create. Italian Meatballs with Orzo is a recipe that never fails to amaze. I’m proud …

A delicious and healthful recipe, Air Fryer Ginger Turmeric Cauliflower over Yogurt combines the aromatic mixture of ginger and turmeric with the nutty flavor of roasted cauliflower. This delicious creation …

If somebody had told me that the viral TikTok Carrot Salad would become one of my favorite recipes this month, I would have dismissed it with a wave of …

Grilled Chicken Bruschetta is one of my favorite low-carb meals. However, you can serve it over salads, with potatoes, rice or even pasta and create something even more incredible. Now …

Although I didn’t eat Southern English Pea Salad, particularly growing up, I have had a fair amount of it after moving to the USA. I was initially introduced to this …

with Honey–Lime Vinaigrette Grilled Spicy Corn Salad like this is such a staple of my household. I love, love corn! It’s one of those salads where you can use whatever …
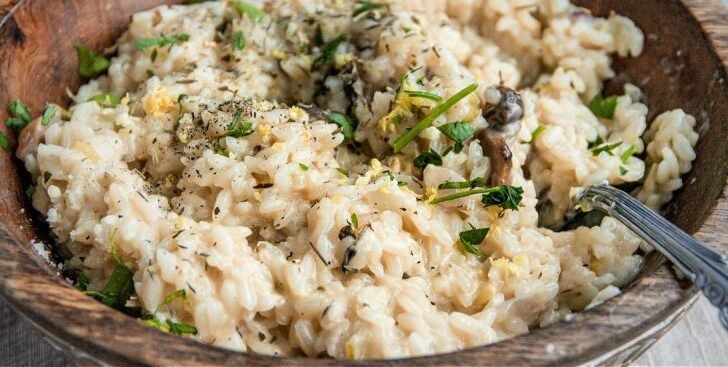
Mushroom Risotto’s first taste is like a spoonful of sunshine- it’s a tasty and super simple recipe. The other day, I woke up and had this mad craving for Mushroom …